
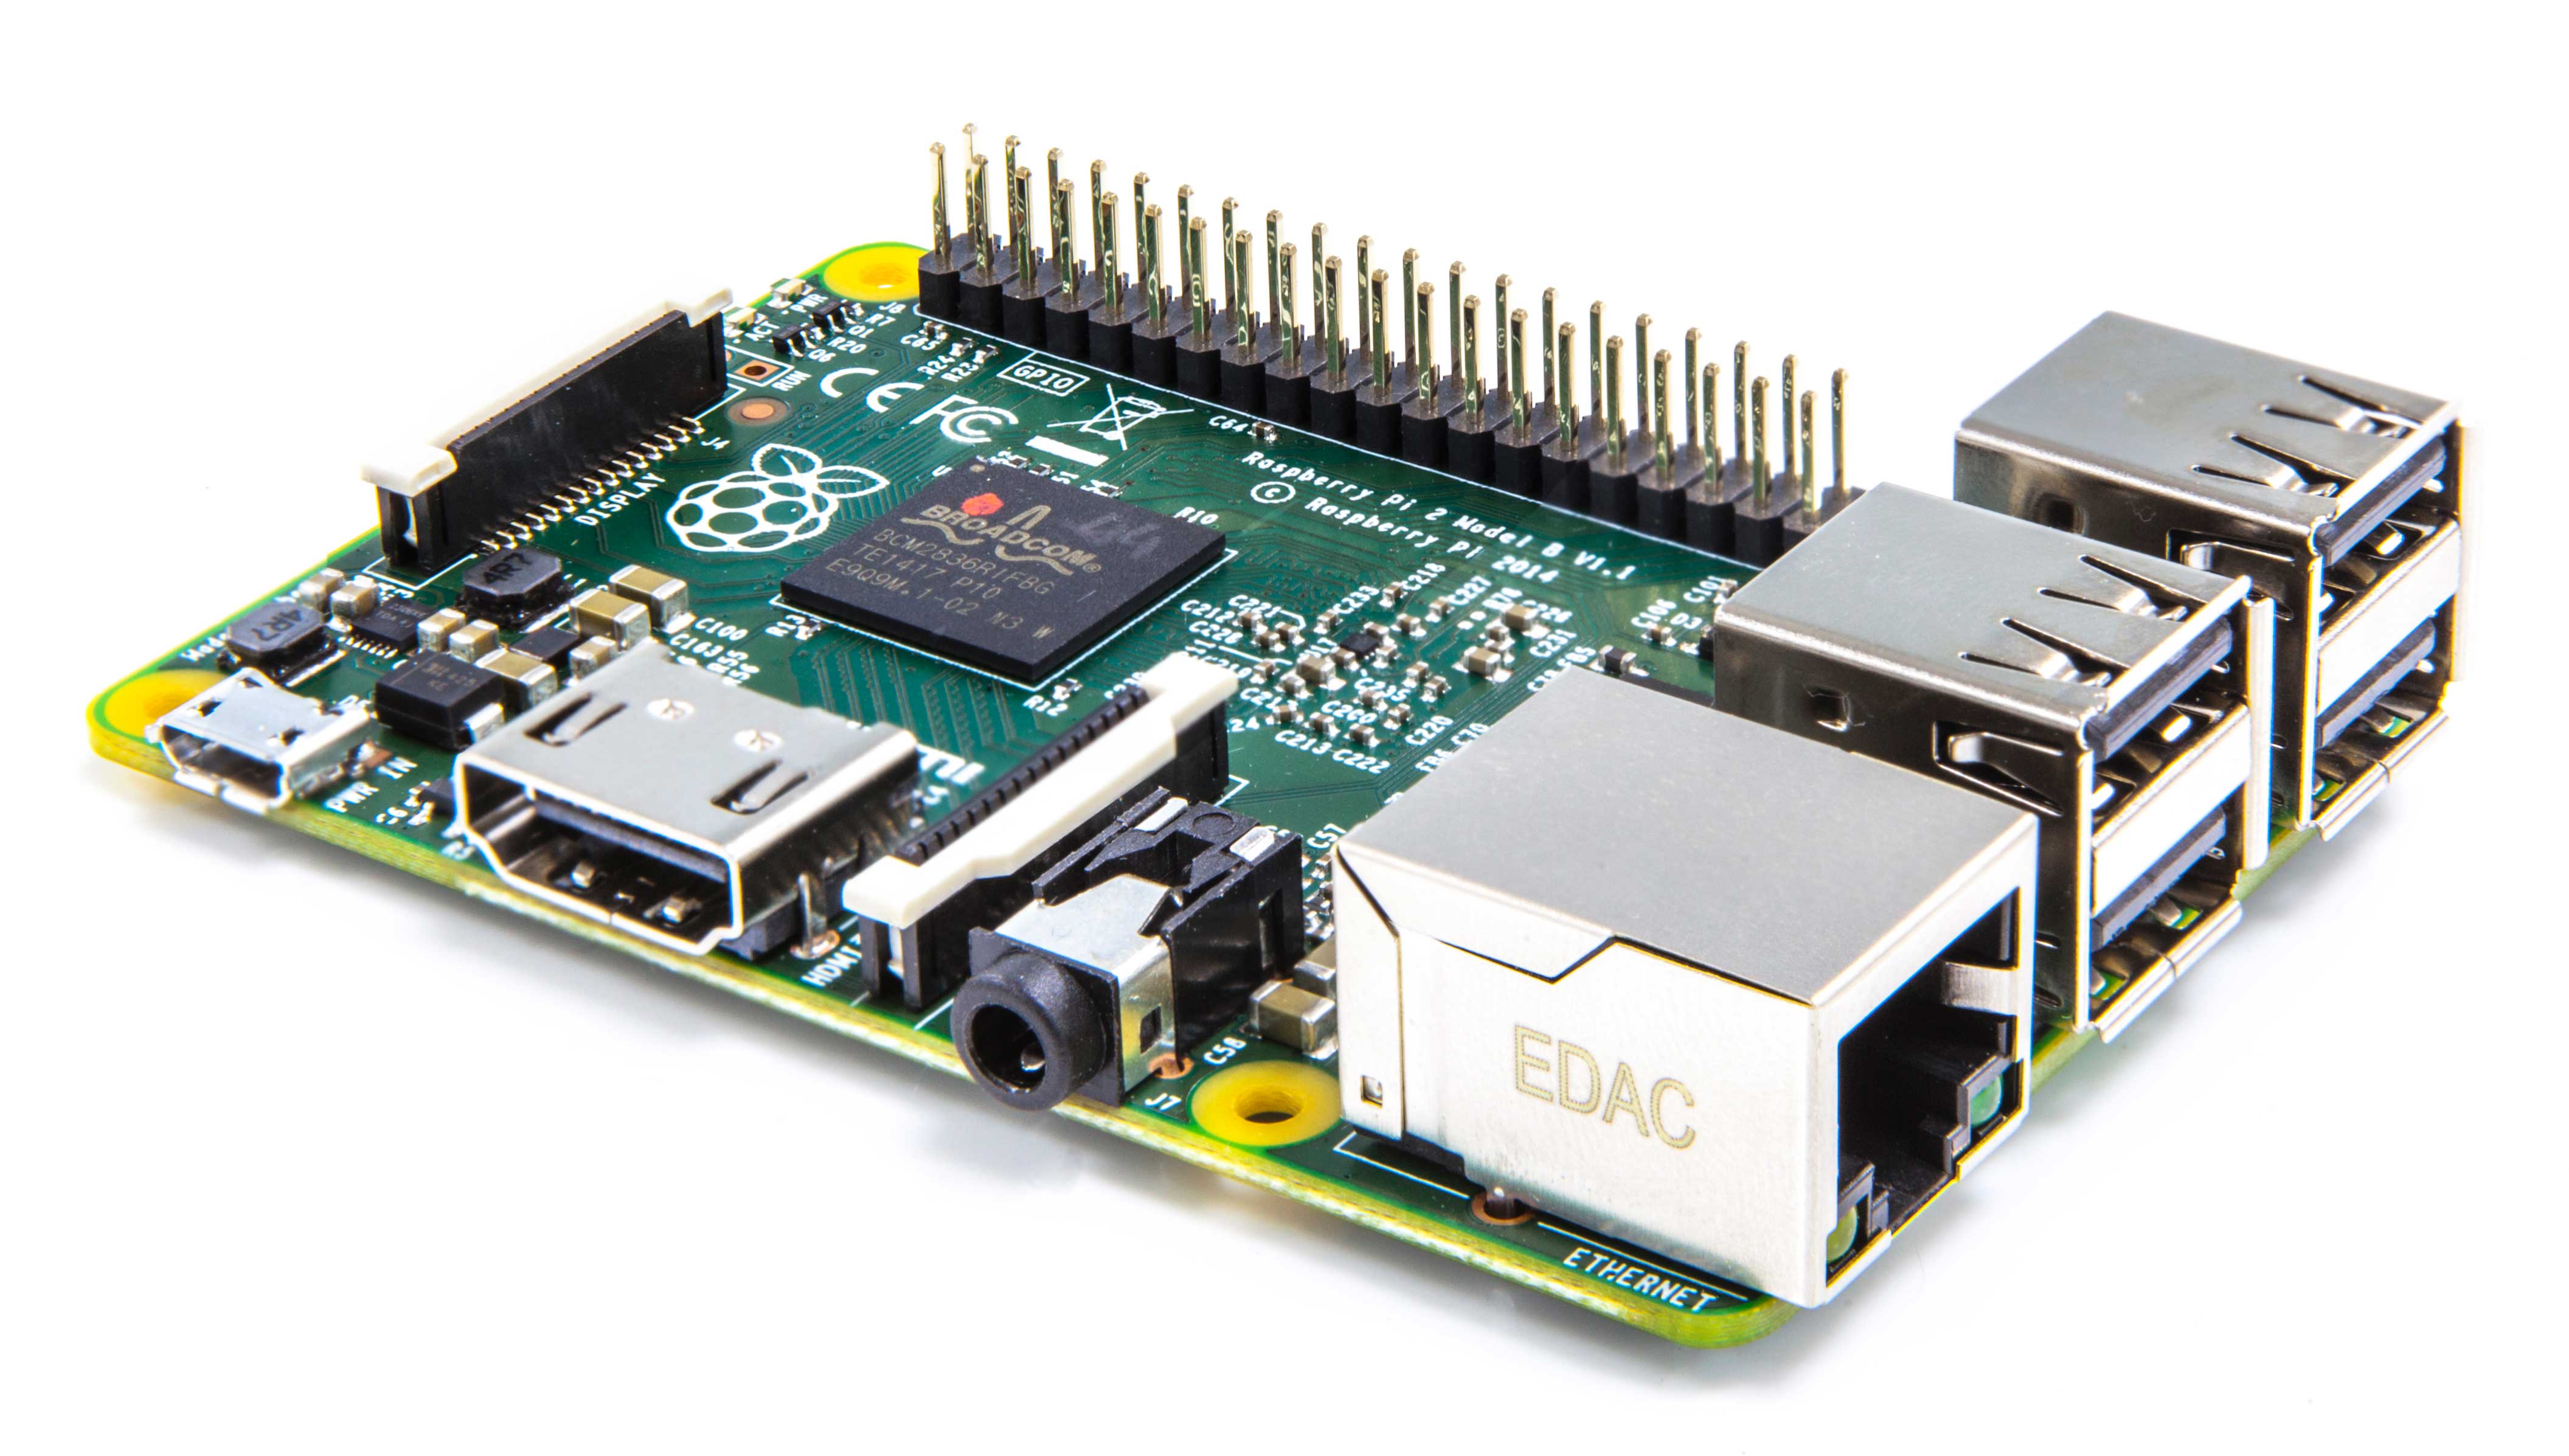
Raspberry-Pi is the most powerful and useful DIY electronics kits. Arduino is more common and easy to handle than raspberry-pi but they are not as much powerful when compared to Pi boards. Raspberry-Pi is a complete computer, YES it consists of 700MHz processor along with GPU, USB, Ethernet and HDMI port. Not only this it has GPIO (General Purpose Input/Output) pins to interface external hardware like sensors, motors with it.
Raspberry-Pi runs on Linux operating system similar to Debian and famous Ubuntu. This guide will help you to install an operating system on raspberry-pi.
To begin with this you need to download Raspberry-Pi operating system first, If you are planning to built cool projects then raspbian is the best choice. Alternatively, you can run Raspberry-Pi as a whole Media Center (similar to Chrome-cast and Apple TV)
Step-1: Download Raspbian from here
After downloading Raspbian you need a Memory card or Micro-Sd card if you have Model B+ of at least 4GB
Install Win32DiskImager and use that software to copy Raspbian to your Micro-Sd card.
Step-2: Connect Peripherals to your Pi-Board
Connect keyboard, Mouse, Network Cable and HDMI to your Pi-Board. See Step-6 if you don’t want to connect keyboard, Mouse or Display
Step-3: Power up the Pi-Board using USB cable A to micro b.
Step-4: After booting up your Pi-Board will ask you few questions like your Region, Language etc.
If Pi-Board asks you to use entire SD card select that option.
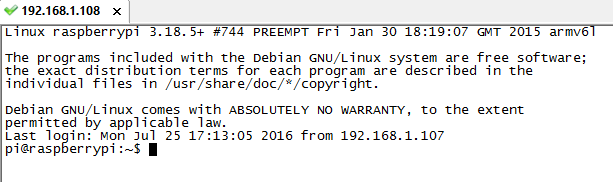
Step-5: Login to your Pi-Board
Default username: pi
Default Password: raspberry
Step-6: Don’t have Peripherals
If you don’t have HDMI capable Monitor or don’t want to connect a keyboard or Mouse etc. You can always control your PI board from your Windows/Linux Machine using SSH.
Install SSH client in your Windows PC. Most famous are Putty, Secure-CRT. You can download putty from here.
After installing SSH client you need to connect to your PI board. For that purpose, you need to know your PI-Board IP address. If you have access to your Router’s page then you can look up from it.
Alternatively, you can nslookup raspberrypi in cmd. or ping raspberrypi in Command Prompt.
Using SSH client you can connect to your Raspberry-Pi by supplying valid username and password.
The Default port for SSH is 22.
To see the display, you need to forward X11 packets. Configure your SSH client to allow forwarding X11 packets and you also need a client Xming to see the display coming from Raspberry-Pi on your Windows PC.
Step-7: After all above steps you are ready to start building projects on Raspberry-Pi. Raspberry-Pi requires Python to use GPIO (General-Purpose Input/Output) pins. Python is easy to learn.
In the next tutorial, we will show you how you can blink LED using Raspberry-Pi just using SSH connect.
If you have trouble configuring please leave us a comment below: