
If you haven’t set-up Qt with OpenCV yet please visit this article.
After creating a new project name ‘display_image_bl’ and importing OpenCV libraries in .pro file. Open .ui file from Left Menu under Forms folder and it will show you the Qt designer as shown below:
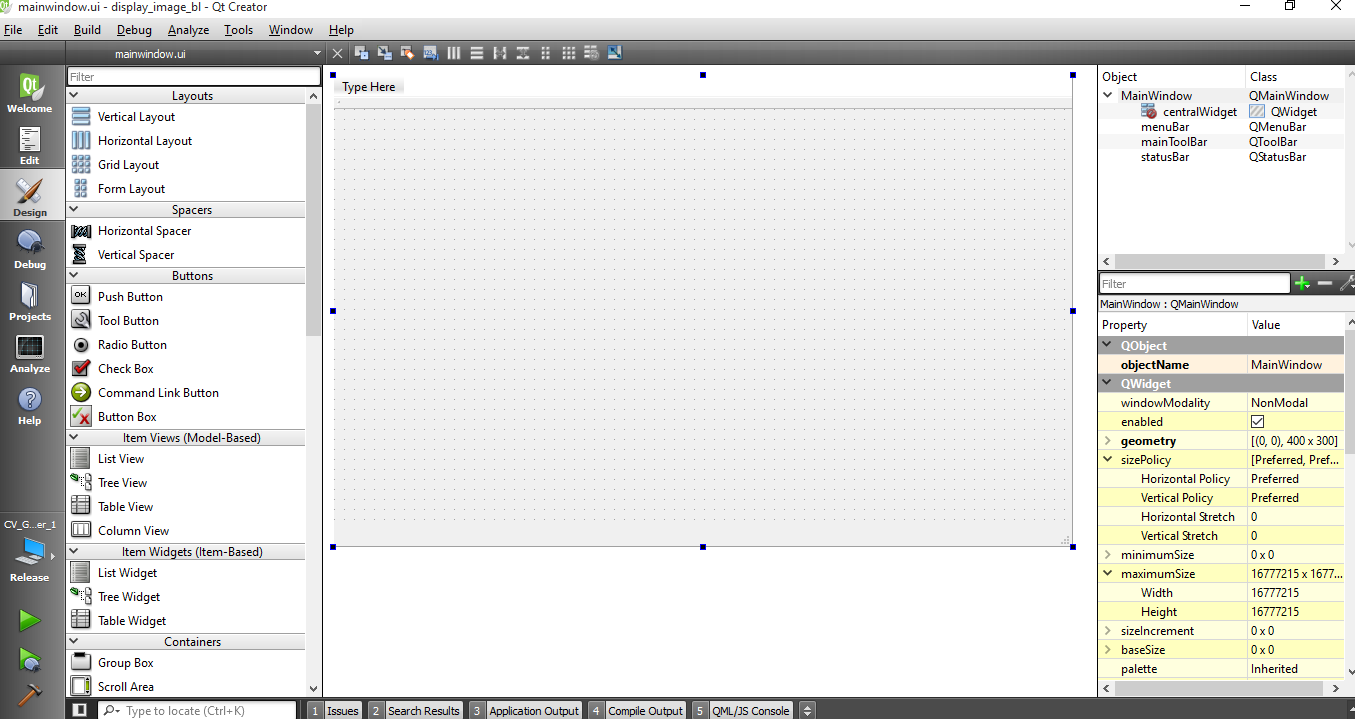
Now inside designer pick a label from left menu under “Display Widgets” and drag it into box
Type whatever you like. Now drag another label resize the box to at least size where we can display image. And change the name of the label to lets say ‘display_image’ under objectName from the right bottom menu.
Afterwards goto mainwindow.h file and add following under public:
QImage imdisplay;  //This will create QImage which is shown in Qt label
QTimer* Timer;   // A timer is needed in GUI application
Also add the following code in the same file
public slots:    // A slot or function is defined which will be intiated by timer
void DisplayImage();
The mainwindow.h file should now have the following code:
#ifndef MAINWINDOW_H
#define MAINWINDOW_H

#include <QMainWindow>

namespace Ui {
class MainWindow;
}

class MainWindow : public QMainWindow
{
    Q_OBJECT

public slots:
    void DisplayImage();

public:
    explicit MainWindow(QWidget *parent = 0);
    ~MainWindow();
     QImage imdisplay;
     QTimer* Timer;

private:
    Ui::MainWindow *ui;
};

#endif // MAINWINDOW_H
Now goto mainwindow.cpp file and add the following libraries
#include <QTimer>
#include "opencv2/imgproc/imgproc.hpp"
#include "opencv2/highgui/highgui.hpp"
#include "opencv2\core\core.hpp"

using namespace cv;
Don’t forget to add “using namespace cv;” as we will be using OpenCV libraries too.
Add the following code under “MainWindow::MainWindow(QWidget *parent) :”
Timer = new QTimer(this);
connect(Timer, SIGNAL(timeout()), this, SLOT(DisplayImage()));
Timer->start(); //Will start the timer
Now add the following function at the end of the file:
void MainWindow::DisplayImage(){
    Mat img;
    img = imread("E:/Bravelearn/Logo/mainlogo.png");
    cv::resize(img, img, Size(512, 384), 0, 0, INTER_LINEAR);
    cv::cvtColor(img,img,CV_BGR2RGB); //Qt reads in RGB whereas CV in BGR
    QImage imdisplay((uchar*)img.data, img.cols, img.rows, img.step, QImage::Format_RGB888); //Converts the CV image into Qt standard format
    ui->display_image->setPixmap(QPixmap::fromImage(imdisplay));//display the image in label that is created earlier
}
The full code of mainwindow.cpp file will now look like this:
#include "mainwindow.h"
#include "ui_mainwindow.h"
#include <QTimer>
#include "opencv2/imgproc/imgproc.hpp"
#include "opencv2/highgui/highgui.hpp"
#include "opencv2\core\core.hpp"

using namespace cv;

MainWindow::MainWindow(QWidget *parent) :
    QMainWindow(parent),
    ui(new Ui::MainWindow)
{
    ui->setupUi(this);
    Timer = new QTimer(this);
    connect(Timer, SIGNAL(timeout()), this, SLOT(DisplayImage()));
    Timer->start();
}

MainWindow::~MainWindow()
{
    delete ui;
}

void MainWindow::DisplayImage(){
    Mat img;
    img = imread("E:/Bravelearn/Logo/mainlogo.png");
    cv::resize(img, img, Size(512, 384), 0, 0, INTER_LINEAR);
    cv::cvtColor(img,img,CV_BGR2RGB);
    QImage imdisplay((uchar*)img.data, img.cols, img.rows, img.step, QImage::Format_RGB888);
    ui->display_image->setPixmap(QPixmap::fromImage(imdisplay));


}
Now make to compile and run the program goto Build (in top menu) and select Run qmake
Don’t forget to run qmake first otherwise your configuration won’t be loaded.
And then click Run or press Ctrl+R
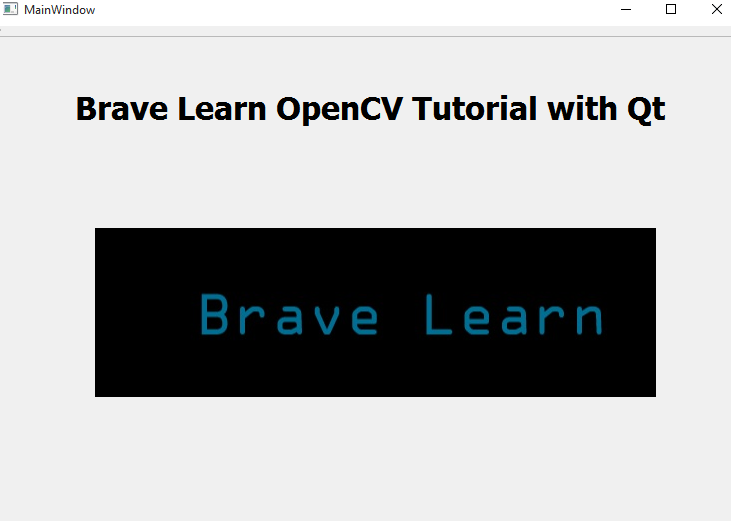
Runtime of the program will look like this:
If you have any suggestions or problems implementing this drop a comment